Balance your gut with prebiotics from IsoThrive

IsoThrive
Samples provided for review. This article is not intended to diagnose, treat or cure any condition and is not intended as medical advice. 

As someone with a variety of food allergies and sensitivities, I’m always on the lookout for new ways to balance my bacteria. I love kefir and yogurt, but a lactose intolerance means that those aren’t the right fit for me.

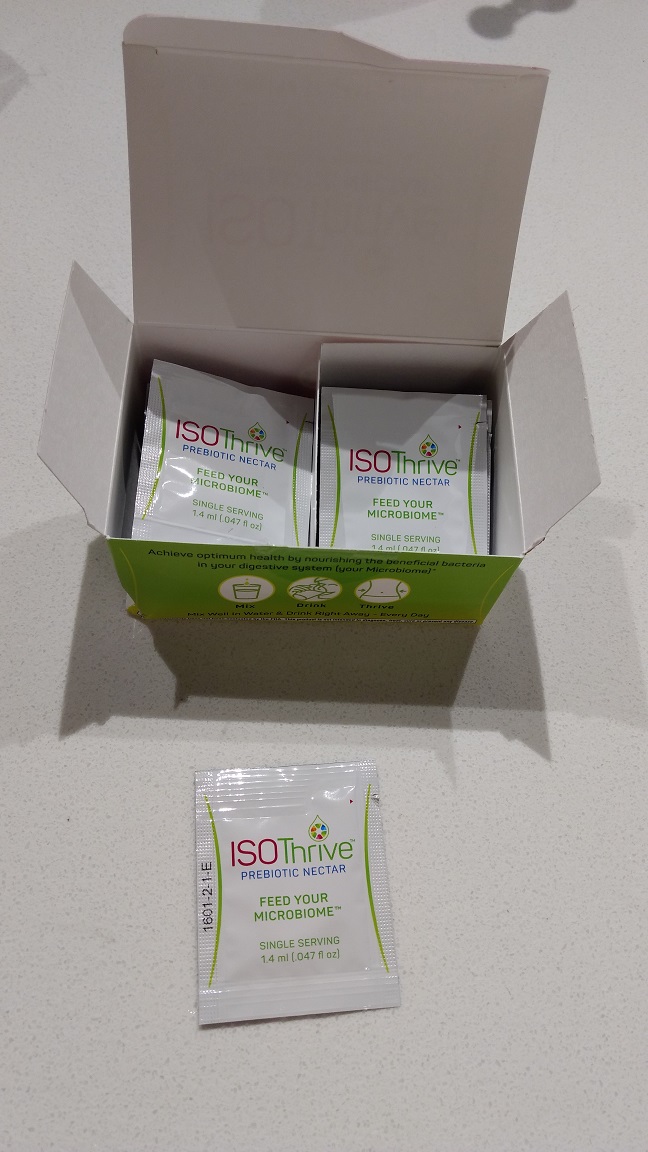
Enter IsoThrive’s prebiotic nectar. It’s non-allergenic; the small packets – taken once daily – can either be added to water, or drunk straight out of the container. They taste fruity and sweet, but not unpleasantly so.

Question: what’s the difference between probiotics and prebiotics? Probiotics are live bacteria that help with digestion; prebiotics are food for the bacteria already in your gut.

Some more about the logic and approach of Isothrive:

“1. Go where probiotics can’t
Most probiotics are neutralized in our stomachs and never make it to our lower digestive tract. To heal GI issues, the whole digestive system has to be re-balanced. A daily dose of fermented microFood like ISOThrive fuels the good bacteria to tackle the organisms that cause acid reflux, constipation, bloating, and gas.

2. Rebalance our diets the ancient way
Most modern diets lack nutrients to feed our “good” bacteria—more particularly, a very specific type of microFood that our ancestors got by eating lots of fermented vegetables or sourdough breads made from heirloom wheat. ISOThrive adds back this bacterially fermented food to rebalance our diets and keep our bacteria happy. (And, no, the sauerkraut on your hot dog or the kimchi on your bibimbap won’t get you the the microFood you need—you’d have to eat several cups of fermented veggies every day to get the same amount of microFood in one 1/4 teaspoon of ISOThrive microFood!)

3. Prep our bodies to prevent disease
Because the modern Western diet is so deficient in specially fermented microFood, our starving “good” gut bacteria are “breaking bad”—adapting to use other energy sources (such as our gut lining), and making us sick. Fermented microFood restores this imbalance, enhancing immune function and staving off disease.”

I’ve been taking the supplements about a week now, and am cautiously optimistic – my digestion does seem to have improved, though I started a probiotic vitamin regimen in the week leading up to taking Isothrive.

All in all, if you’re having problems with food sensitivities and nutrition absorption, I recommend trying Isothrive to see if it works for your system.

Recipe: Patriotic Nachos

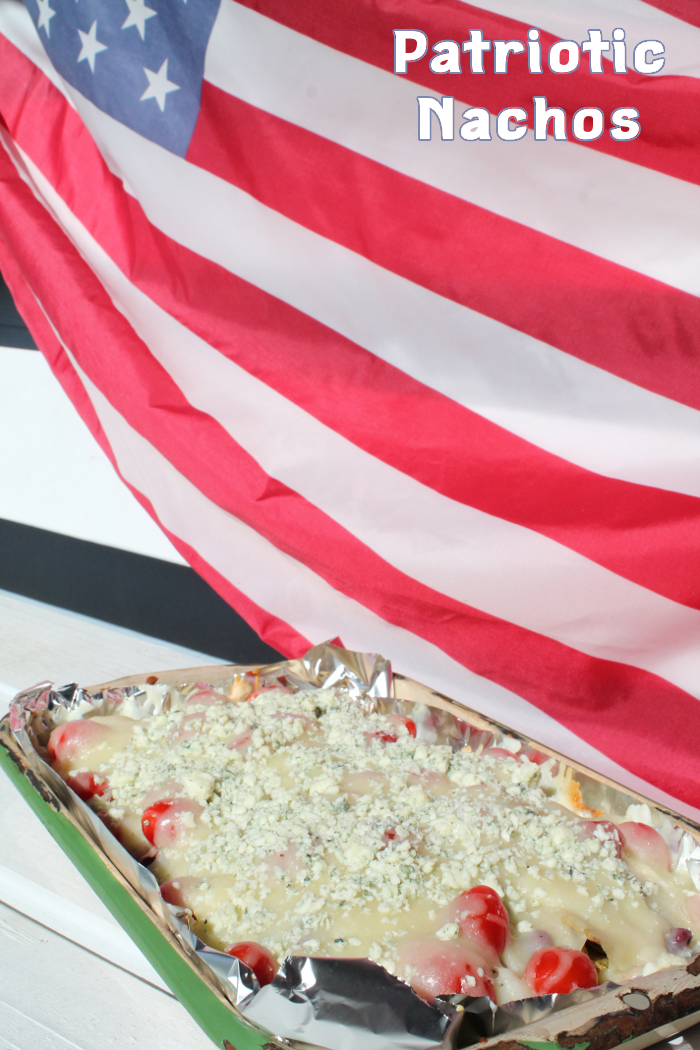
Patriotic Nachos
The Better Chip provided me with product and/or compensation for this post, however the opinions I shared are my own.


Have you caught World Cup fever? If you’ll be cheering on Team USA this week, here’s some awesome game day grub for you to cook up: Patriotic Nachos! These nachos are unique, easy to make, and feature The Better Chip, a delicious line of chips that are gluten free, non-GMO and vegan-friendly – well, until you cover them in cheese to make nachos, but just omit that part to keep them vegan. 😉

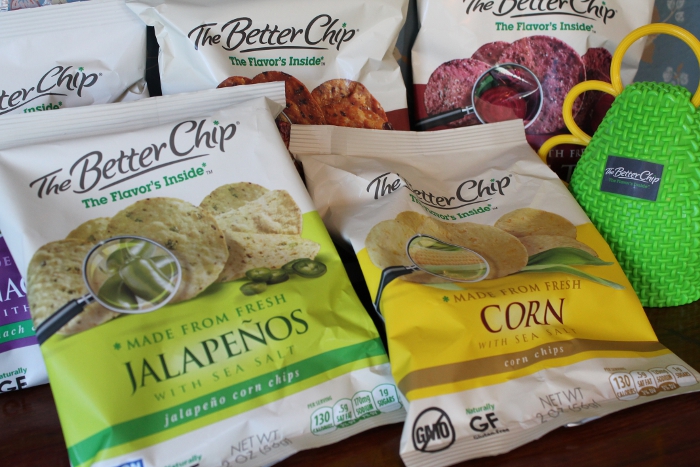
The Better Chip
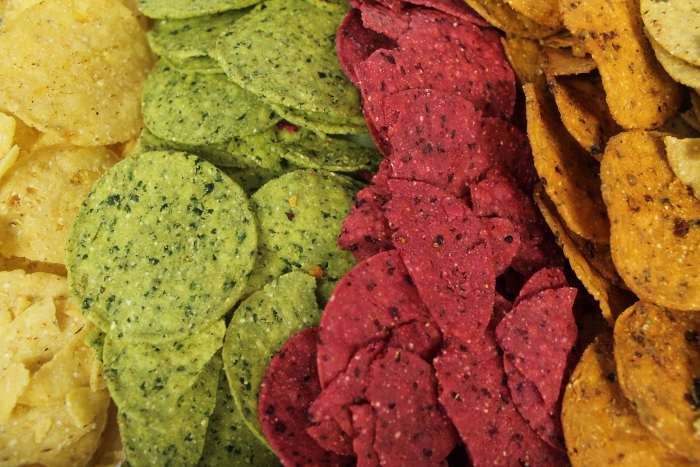
I received a fun World Cup package from The Better Chip, containing bags of their chip flavors along with a caxirola, which is the official noisemaker of the World Cup. Good thing it’s not a vuvuzela, right? 😉 The flavors included Fresh Corn, a classic, tasty chip; Spinach & Kale, a different, green kind of chip that was nice; Beet Chips, which might be the best beet has ever tasted; Chipotles, a super spicy and smoky chip, and Jalapenos, which has a slightly milder spicy kick to it. I nibbled on each flavor while preparing my nachos and thought they were super yum!

Better Chips
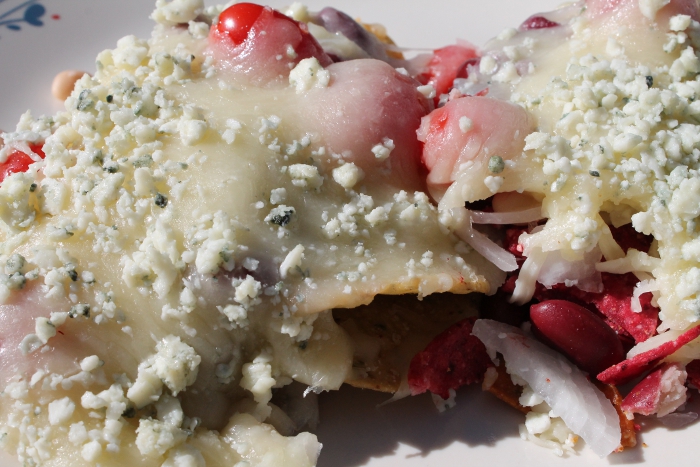
To create my original nacho recipe, I wanted something that would work for both Team USA and the 4th of July this week: Hence, Patriotic Nachos were born! What makes them patriotic, you ask? Because they are red, white and blue!

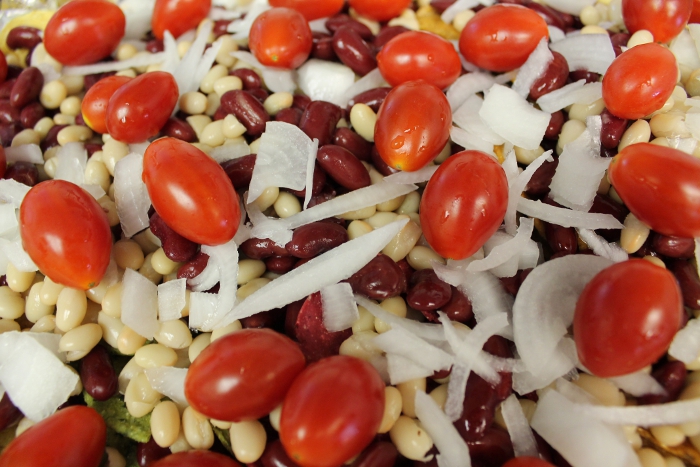
Nachos
Red: Kidney beans, salad tomatoes
White: White beans, white onion, mozzarella cheese
Blue: Blue cheese

Patriotic Nachos

Patriotic Nachos

Ingredients

  • 2 oz bag The Better Chip Corn Chips
  • 2 oz bag The Better Chip Jalapenos Chips
  • 2 oz bag The Better Chip Spinach & Kale Chips
  • 2 oz bag The Better Chip Beets Chips
  • 2 oz bag The Better Chip Chipotles Chips
  • 1 can kidney beans
  • 1 can white beans
  • White onion, peeled & chopped
  • Package of salad tomatoes
  • Bag of mozzarella cheese
  • Package of blue cheese

Instructions

  • Layer all chips in a large, foil-lined pan, arranging in strips by color.
  • Rinse kidney & white beans, layer over chips.
  • Peel & chop a white onion, sprinkle over the chip & bean layer.
  • Rinse salad tomatoes and add to nachos.
  • Cover nachos with mozzarella cheese, then sprinkle with blue cheese as the finishing touch.
  • Cook at 350 degrees until cheese begins to lightly brown around the edges - roughly 20 minutes.
  • Note: These ingredients aren't listed in specific quantities, because nachos are best made to taste - add as much of each item as you want!
https://www.cookingcatastrophe.com/recipe-patriotic-nachos/

I cooked up a tray of these nachos for my family tonight, and it was a big success! Everyone loved it – they thought the dish was really good, and quite different from what you usually think of when you make nachos, making it a simple recipe to prepare yet still unique. My family also noted that they really liked all the different flavors of chips.

Enter to win your own nacho kit!

TWO readers will win the following:

  • An assortment of chips from The Better Chip
  • Your very own caxirola
  • “Nachos Around the World” recipe sheet
  • A coupon for more product
  • And a chip clip!

To enter, use the Rafflecopter widget below to get your entries in before July 1st, 2014 at 11:00 PM PST. This giveaway has a very quick turnaround, so make sure to read the rules in the Rafflecopter widget regarding how to claim the prize if you are the lucky winner!

a Rafflecopter giveaway
What recipe would you create with The Better Chip?

Delicious Dinners From Lee Kum Kee

Lee Kum Kee

Samples provided for review.

I love making one-dish meals, so I was happy to receive a package full of Lee Kum Kee Ready Sauces to try out. The basic idea is that you add meat to one frying pan, toss in veggies and sauce, and voilà! Dinner is served. I tested out the full line of flavors, and had tasty dinners all week.

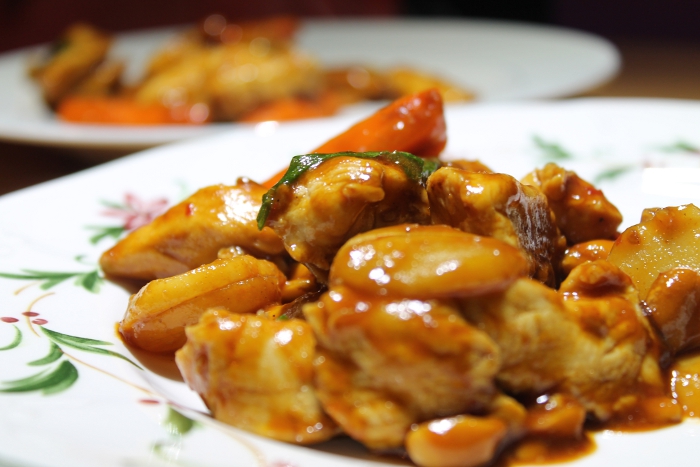
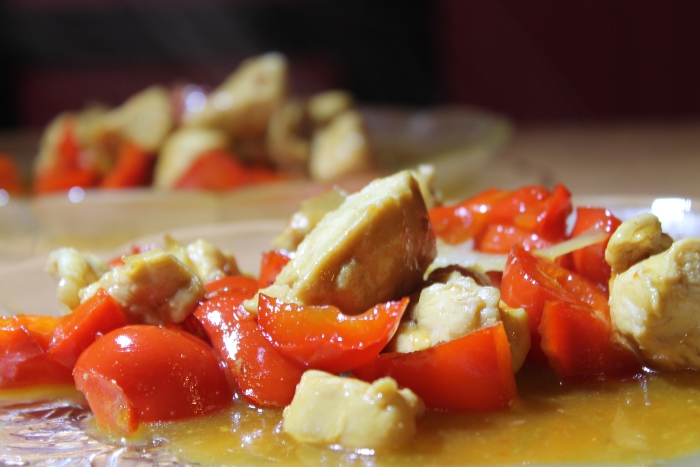
We tried Kung Pao Chicken:

Lee Kum Kee Kung Pao Chicken

Kung Pao Chicken

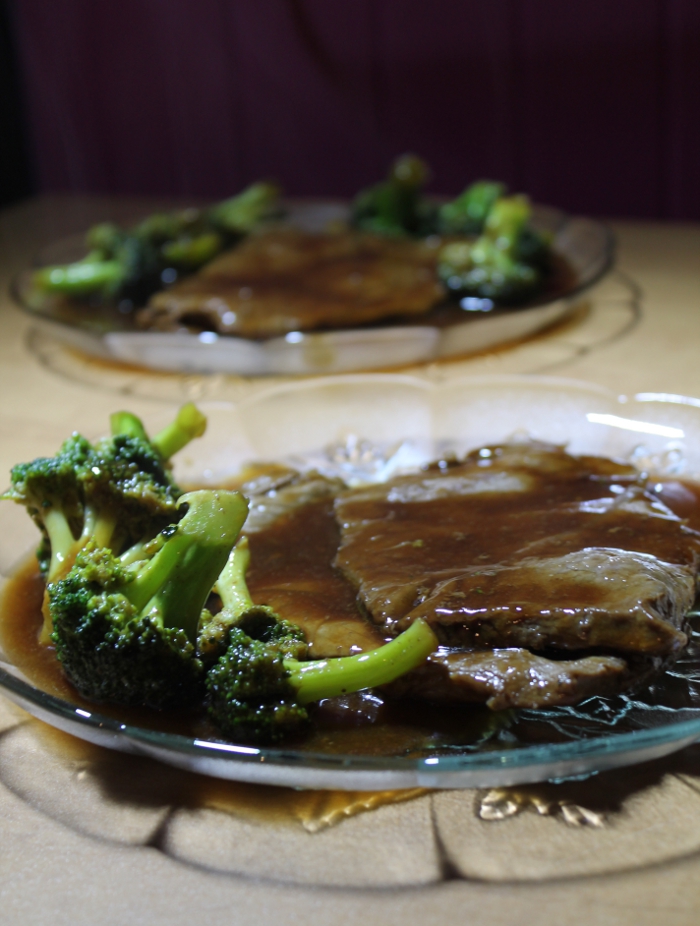
Broccoli Beef:

Broccoli Beef

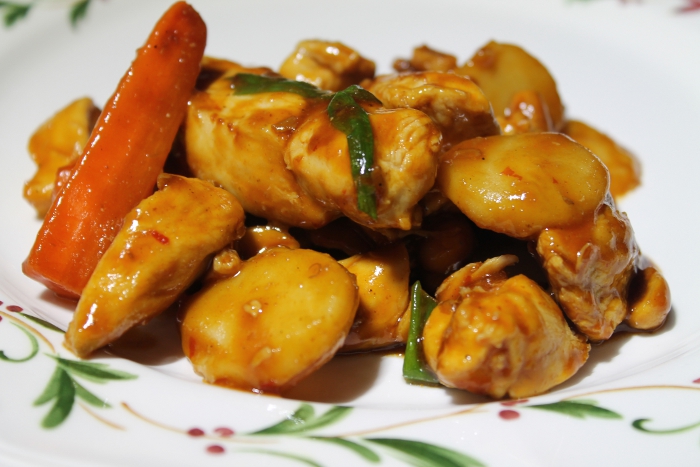
Orange Chicken:

Orange Chicken

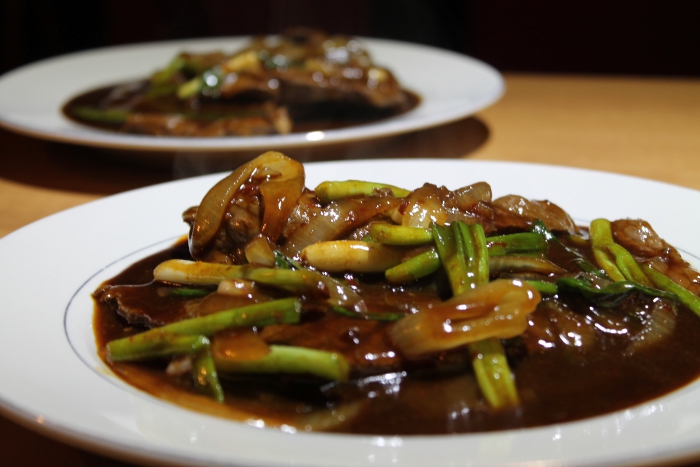
Mongolian Beef:

Mongolian Beef

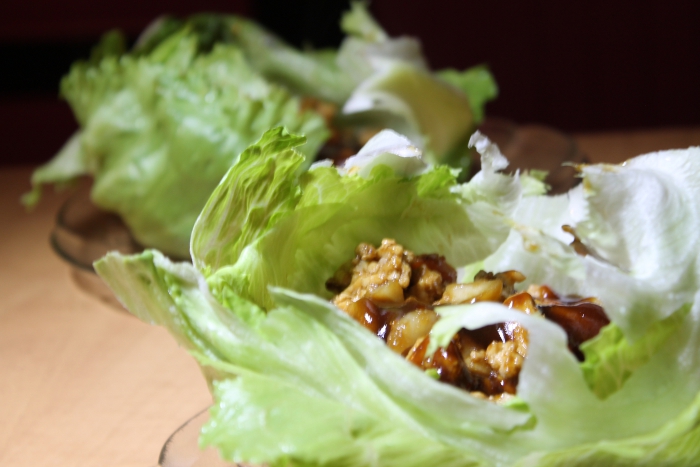
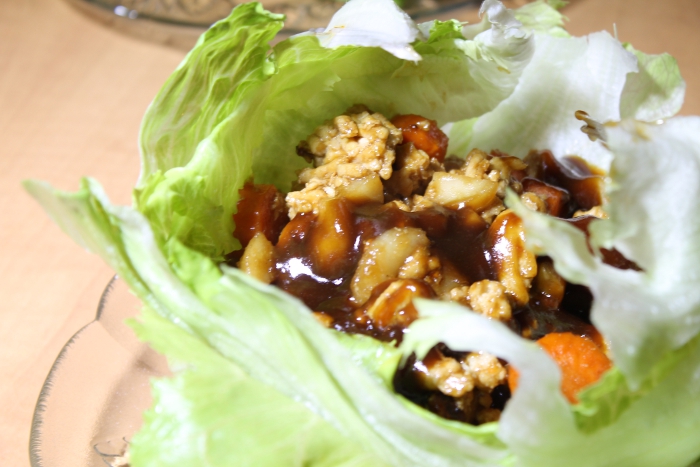
And Lettuce Wraps:

Lee Kum Kee Lettuce Wraps

Lettuce Wrap

Every single one of these meals was delicious. The package advises that you serve these on rice or noodles, but because we’re trying to cut down on unnecessary carb overload, we just had the dinners by themselves and it was perfect. Because we ate them alone, it served perhaps a little less than the 4-6 servings listed on the package – Jai and I each had a plate for dinner, and usually had leftovers for lunch the next day, but not with every single one. I admit that my serving size could have been a little smaller on a few of these occasions, which is what I got for skipping breakfast. 😉

Look for Lee Kum Lee Ready Sauce in a grocer near you, and be sure to check them out on Facebook, Twitter, Pinterest and YouTube!

Tackling Grubby Laundry With Purex UltraPacks

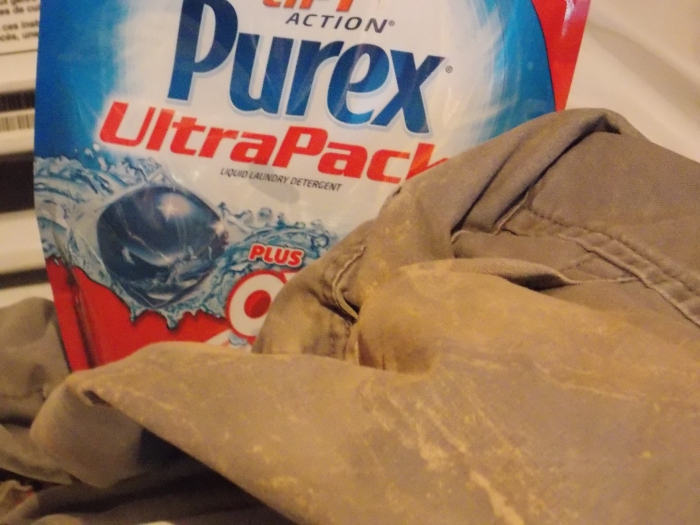
Purex UltraPacks

Detergent samples courtesy Purex!

Lately, it seems like I’ve been using different detergents for different loads of laundry. When I have a “Standard” load of laundry, I might use my homemade soap, and if I have an extra dirty load I might us a more super-powered/scented detergent – if only for the psychological difference that a heavy scent makes when cleaning something really dirty! So when I got a bag of Purex Ultrapacks in the mail last week, I knew right away this would be reserved for heavy-duty messes, since the bag touts its dirt-lifting additions of Oxi and Zout stain remover. I put it to the test with a load of dirty kitchen towels and rags, along with these pants that Jai had worn while laying tile. They were covered in dried grout, so I figure this should give the detergent a nice challenge.

Grout

The detergent is pre-portioned in handy little packs, so you just toss one in the machine and add your clothes. It recommends using two packs if you’re washing a large and/or heavily soiled load, however my extra-large load of icky rags was super clean with one pack.

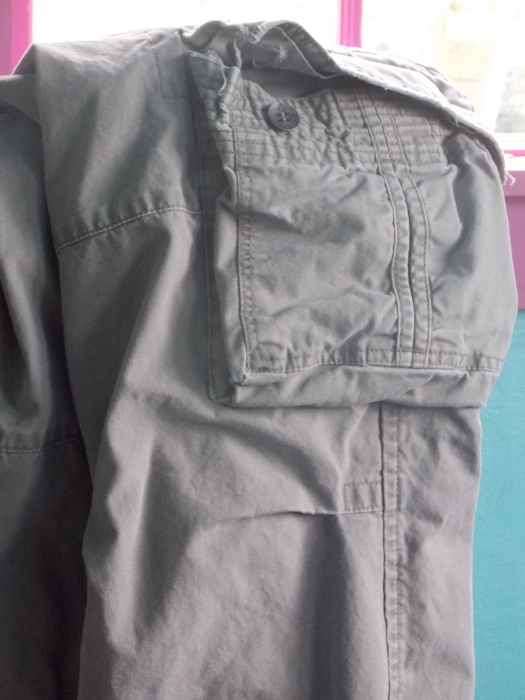
Jai's Pants After Washing With UltraPacks

The pants were spotless after I pulled them out of the wash, so the detergent had no problem getting out the grout. I forgot to take a photo of them after I pulled them out of the dryer, but since Jai wore them while tiling the very next day, they were once again covered in grout, washed again with UltraPacks, and once again, came out pristine. I’ll definitely be saving this for my grubbiest loads of laundry since it has done a great job thus far!

Sweepstakes:

10 winners will receive $50 in Purex’s “Fall Football Scavenger Hunt”! Simply located the red jersey somewhere on Purex’s website to locate the entry form. Click here for the details and a big hint as to where to find the jersey!

Making Homemade Laundry Soap With Fels-Naptha

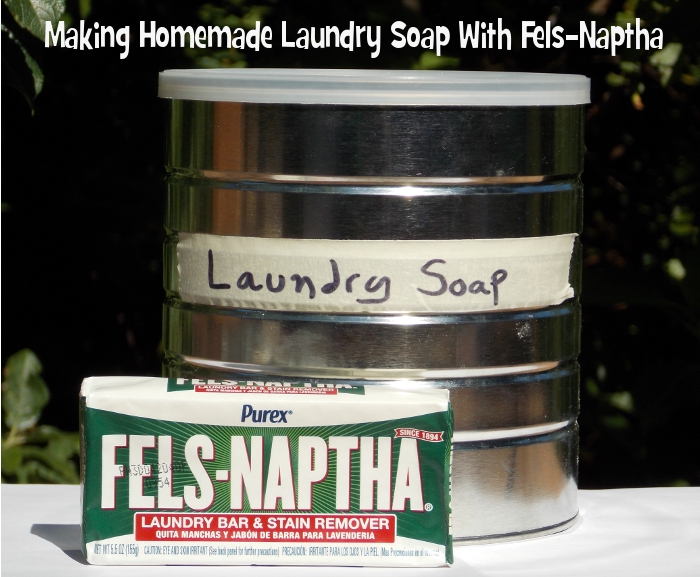
Making Homemade Laundry Soap With Fels-Naptha

I was provided with a complimentary Purex Fels-Naptha Laundry Bar & free coupons for review.

Last month, I tried my hand at making homemade laundry soap for the first time. It was straightforward to do and worked out well, so when I received a Fels-Naptha bar in the mail, I knew immediately that I’d be putting it to use in my next batch. The recipe from DIY Natural that I go by advises either using a bar of Fels-Naptha or Ivory soap; I’d only tried the Ivory soap thus far, so I was eager to see how this would compare.

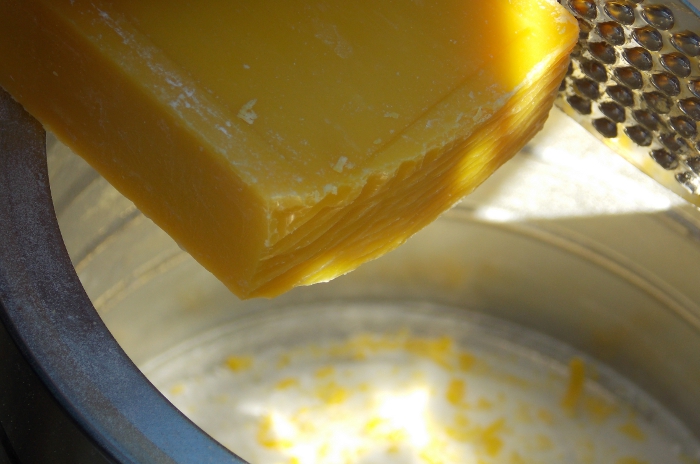
Grating Fels-Naptha for my homemade laundry detergent

To prepare my soap, I added Borax and washing soda to a washed out coffee can that I’ve been using to store my homemade detergent in. Normally the recipe calls for 1 cup of each ingredient, but I only had about 3/4 cup of washing soda left and I didn’t feel like making another batch, so I just scaled the other ingredients down accordingly. If you don’t know how to make washing soda, click here!

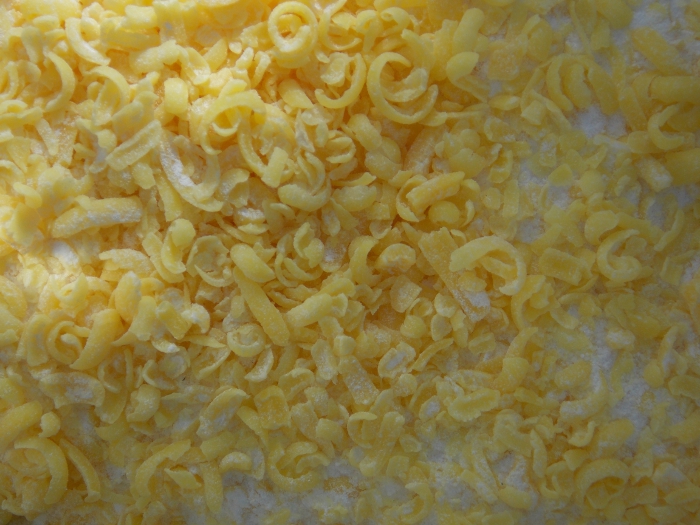
Once those ingredients had been added, I shaved 3/4 of the Fels-Naptha bar into the canister using a cheese grater. This laundry bar is yellow, so it almost looks like cheese while you’re doing it. 😉

Fels-Naptha shavings

Then, I took a large spoon and mixed the ingredients together for 5 minutes. Done! DIY Natural recommends using 1-2 tablespoons per load, depending on how soiled your laundry is. I’ve run several loads of laundry with my new Fels-Naptha laundry soap concoction, and I’m pleased; it’s not really scented, but the laundry comes out with a fresh, “Clean” smell. And I still have a quarter of the bar left, so the next time I have an item with a stain on it, I’m going to try using this to treat it – it’s meant to be a good pre-treatment for stains as well, so I’ll be curious to see how it works in that regards.